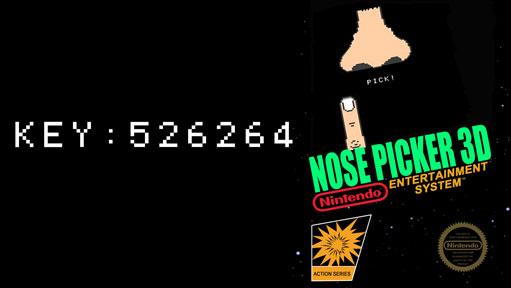
For this tutorial I made a simple game in order to demonstrate collision detection for a specific area rather than
for a sprite.
So the first thing I want you to do is use this key to download the game.

Once you have the program editor open, delete the first character on lines 10,11, and 12 so that now our
code for our graphics boxes are no longer just comments.

Now start the game.
You'll notice that I put boxes over the nostrils on the nose. These aren't the actual collision boxes. The real
collision boxes are invisible. I put graphics boxes there so I know what screen coordinates to use for my
collision boxes.
After you've seen the boxes you can delete them or change the code into comments.
Moving on down you can see my spset, scale, collison, and location for the nose and finger.
I think by now you should be familiar will all of these commands and what they do.
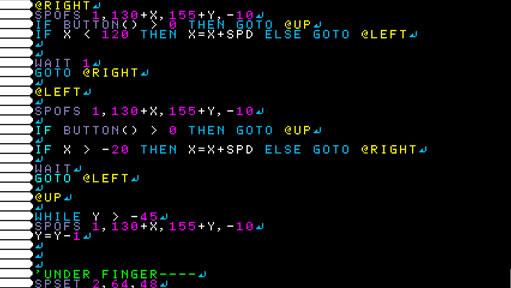
Scroll down until you see @RIGHT, @LEFT, and @UP.

Looking at @RIGHT you can see that we change the X position of the finger
if you press a button then the finger will rise up and check if it hit one of the collison boxes
if you don't press a button then it'll check to see if the finger has gone too far to the right,
if it has then it'll take you to @LEFT so that it can move the other direction. If X is less that 120
then it'll move the finger based on the speed variable.
@LEFT works pretty much the same way.
Let's talk about @UP. Here I used a While loop to raise the finger up by decrementing the Y variable in
our SPOFS for the finger.
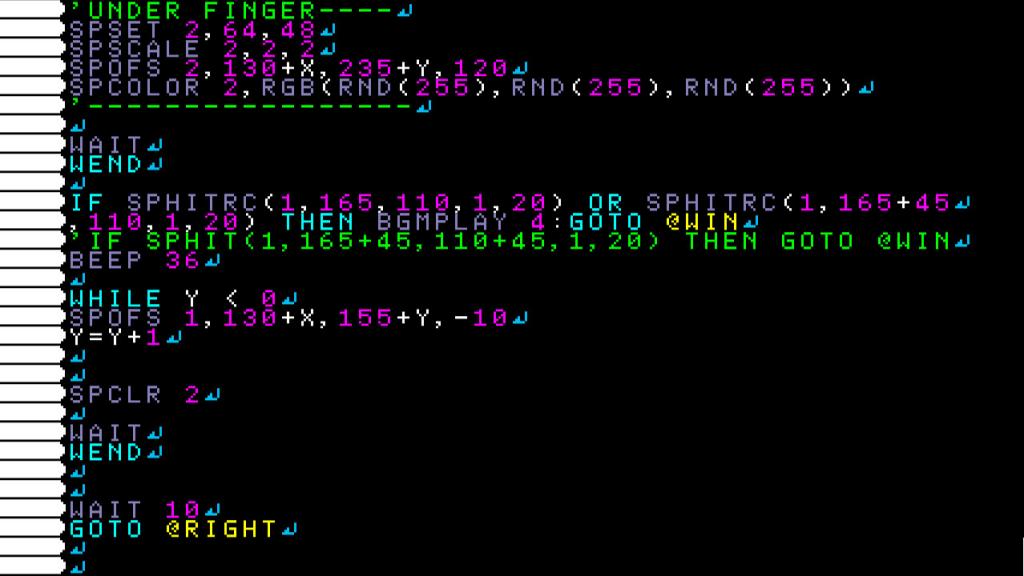
The under the finger part is just some extra graphics

after the end of the while loop you'll see my set up for SPHITRC. This is where we will be detecting the
collision boxes. The parameters for SPHITRC is a little different from the parameters for our
graphics boxes. The last two parameters are how many units you want the box to be from the starting point rather
than specific coordinates for the ending positions of the collision box. If I lost you there it's ok.
Just look up SPHITRC in your function guide and that'll clear up any confusion.
As you can imagine, if either SPHITRC commands return true then it takes you to @WIN
If not then I made another while loop to pull the finger back down and go back to moving left and right.
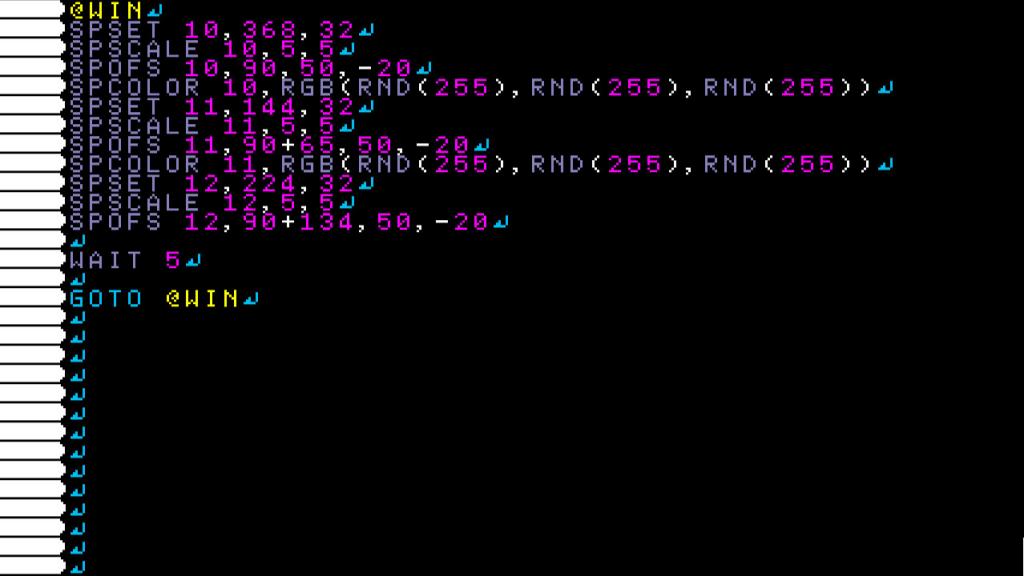
Lastly we look at the winning graphics. Which is just the default letter sprites with random values set to
the colors so they strobe different colors.


